Categories
Fitness Meals nutrition & meal women

Healthy Meal Prep for Women Days

Balancing wellness, work, and everything in between isn’t easy — especially when your schedule leaves little time to think about food. That’s where meal prep can truly change your life. This guide breaks down everything you need to know about nutrition & meal prep specifically for women – with realistic tips, instructions, and benefits that support your fitness and lifestyle.

Why Meal Prep Matters for Women

Whether you’re training, managing a busy household, or simply trying to eat better, prepping your meals helps you:


Maintain energy throughout the day
Avoid last-minute unhealthy food choices
Fuel your body for workouts and recovery
Reduce stress around food decisions
Stay in control of your health goals

How to Start: Step-by-Step Meal Prep Instructions

Here’s a simple and effective way to plan and prep your meals for the week:

Step 1: Plan Your Meals (30 minutes)

Pick 2–3 main meals you enjoy and that align with your goals (e.g., high protein, plant-based, low-carb).

Choose meals that share ingredients to save time and money.

Make sure to include snacks and breakfast in your plan, as they’re commonly missed but important.

Example Weekly Plan:

Breakfast: Overnight oats with almond butter & berries

Lunch: Grilled chicken quinoa bowls

Dinner: Veggie stir-fry with brown rice

Snacks: Greek yogurt, almonds, chopped cucumbers

Step 2: Make a Grocery List (15 minutes)

Break it down into categories: proteins, veggies, grains, dairy, pantry, snacks

Check what you already have at home

Stick to the list to avoid impulse buys

Tip: Use a grocery app or notepad to stay organized.

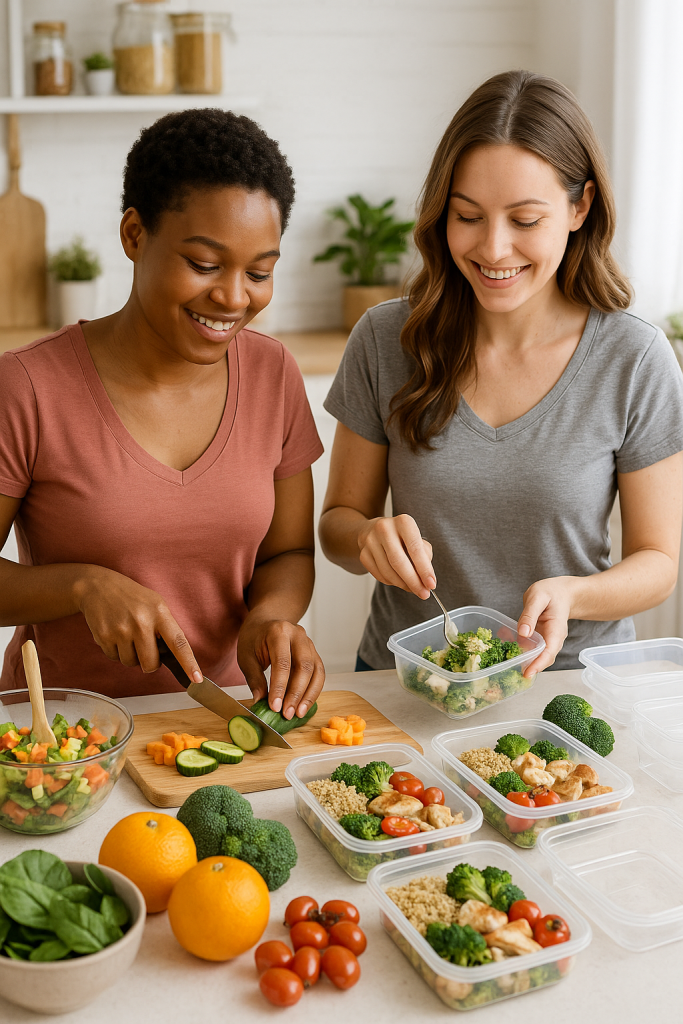
Step 3: Prep & Cook (1.5–2 hours on your chosen day)

Choose a day when you have time to prep — Sundays work well for many, but midweek is fine too.

Start with ingredients that take longest (e.g., rice, baked sweet potatoes)

While those cook, chop veggies and portion out snacks

Cook proteins (grill, roast, or sauté chicken, tofu, etc.)

Assemble meals in containers or keep ingredients separate for mix-and-match flexibility

Label containers with contents + date (especially if freezing)

Pro Tip: Use a sheet pan to roast multiple veggies at once for easy cleanup!

Step 4: Store Smart

Use glass or BPA-free containers with tight lids

Separate sauces/dressings to keep meals fresh

Stack meals for easy grab-and-go access

Freezer Tip: Freeze one or two servings for busier weeks — just thaw overnight in the fridge.

Bonus: Quick & Healthy Meal Ideas

Protein Power Bowl

Quinoa + roasted chickpeas + spinach + tahini drizzle

Simple Stir-Fry

Broccoli + carrots + tofu + brown rice + sesame oil

Mason Jar Salad

Start by placing the dressing on the bottom, then add grains and vegetables, finishing with a layer of fresh greens on top.

Tips for Long-Term Success

Keep it flexible: Life happens. Prepping just 2 meals a week is still progress.

Rotate ingredients: Try different grains, proteins, and sauces to avoid burnout.

Prep with a friend: Makes the process more fun and adds accountability.

Pay attention to your body’s signals and tailor your portion sizes and nutrient balance according to your energy needs and daily activity.

Final Thoughts

Meal prepping is more than just a health hack — it’s an act of self-care. By planning ahead, you’re giving yourself the gift of time, energy, and confidence. Whether your goal is to feel better, get stronger, or simply eat more whole foods, meal prep can support every part of your wellness journey.

Start small, stay consistent, and remember: You don’t have to be perfect — just prepared.

Categories
Baths Fitness recovery & wellness women

Cold Showers vs. Ice Baths: What’s Better for Women?

Cold exposure has become a powerful tool for modern women looking to improve fitness, recovery & wellness. Whether it’s to speed up muscle recovery, support mental clarity, or manage stress, cold showers and ice baths are two go-to options. But which one is better?

Let’s compare the benefits, when to use them, and how to safely get started — step by step.

Cold Showers: Accessible Daily Recovery

Why Women Love It:

Requires no equipment or prep

Stimulates circulation and mood

Enhances focus and energy

Supports healthy skin and hair

Cold showers are ideal for women who want a manageable, everyday practice that promotes wellness without being too intense.

How to Take a Cold Shower (Beginner-Friendly Steps)

Start with a warm shower – Feel free to begin with your regular temperature.

Gradually lower the temp – After a few minutes, reduce the water to cool or cold (aim for ~60°F / 15°C).

Start with a brief exposure—around 30 seconds of cold water—and concentrate on steady breathing: breathe in through your nose and exhale slowly to stay relaxed

Work your way up – Over time, increase cold exposure to 1–3 minutes.

Finish strong – Step out and towel off, letting your body warm naturally.

Frequency: Daily or post-workout.

Best for: Mental clarity, mood boost, quick recovery.

Ice Baths: Deep Recovery for Intense Training

Why Women Use Them:

Reduces inflammation and soreness

Speeds muscle recovery

Trains the nervous system to handle stress

Enhances sleep and relaxation post-session

Ice baths are especially beneficial for women engaged in strength training, running, HIIT, or competitive sports.

How to Do an Ice Bath Safely (Step-by-Step)

Fill your tub or container with cold water. Add ice until the temp reaches 50–59°F (10–15°C).

Time it right – Best done within 30 minutes post-workout to reduce inflammation.

Wear a sports bra or swimsuit – Optional, but helps you ease in mentally.

Enter slowly – Sit in the water and gradually submerge up to waist or chest.

Set a timer – Start with 2–3 minutes and slowly build to a maximum of 10–12 minutes over time.

Breathe steadily – Use long, deep exhales to stay calm and manage the shock response.

Exit and warm up – Use a towel, dry clothes, and move around. Avoid hot showers immediately afterward.

Frequency: 1–3 times per week.

Best for: High-intensity recovery, reducing soreness, building stress resilience.

Tips for Cold Therapy Success

Always listen to your body – If you feel dizzy, numb, or uncomfortable, stop immediately.

Breathwork is key – Try box breathing (4 seconds inhale, 4 hold, 4 exhale, 4 hold) to calm your system.

Be consistent – Like any wellness habit, results come with routine.

After cold exposure, make sure to drink fluids and eat something nourishing to help your body recover and regain strength.

So, Which Should You Choose?

Cold Showers Ice Baths

Time Commitment 2–5 minutes 10–15 minutes (including setup)

Best For Daily energy, mood, light recovery Deep recovery, athletes, soreness relief

Accessibility Easy Requires planning and setup

Mental Challenge Mild Intense

Final Thoughts

For women balancing fitness, recovery, and daily life, both cold showers and ice baths can be incredible tools. The best choice depends on your goals:

Cold showers can help boost your energy, lift your mood, and support your daily well-being.

Use ice baths after hard workouts or to boost physical recovery and resilience.

Whichever method you choose, cold therapy can support a strong, energized, and well-recovered body — one cold breath at a time.