Categories
Fitness flexibility & mobility Gym home workout mobility nutrition nutrition & meal recovery & wellness strength training stretching women yogis

Daily Mobility Routine to Prevent Injuries in Yogis

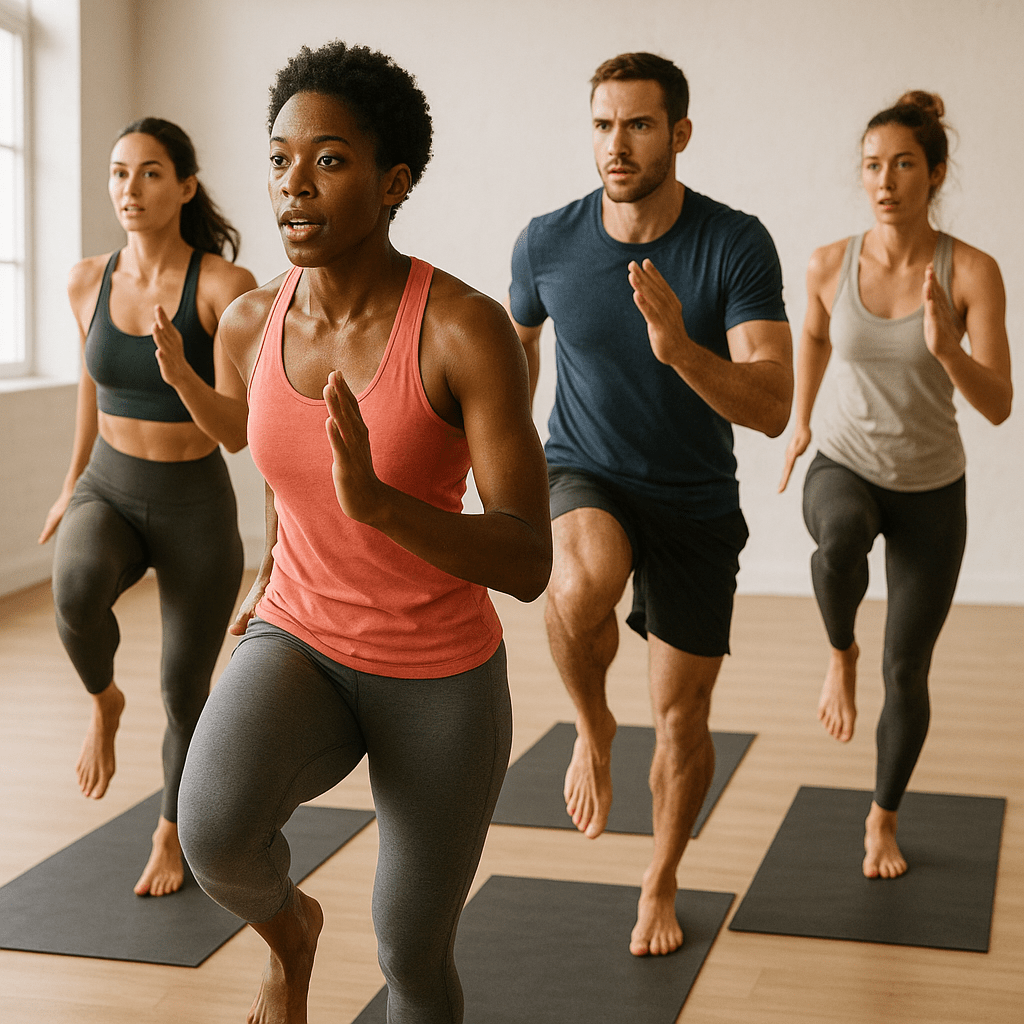
Whether you’re easing into your first downward dog or moving through advanced asanas, the key to a sustainable yoga practice isn’t just flexibility — it’s mobility. This short, effective daily routine supports joint health, reduces injury risk, and enhances your overall movement quality.

What’s the Difference Between Flexibility & Mobility?

Flexibility is how far a muscle can stretch.

Mobility is how well a joint moves under control through that range.

Yoga already boosts flexibility. But when we train mobility, we strengthen those flexible ranges so they’re more resilient — which is critical for preventing injuries.

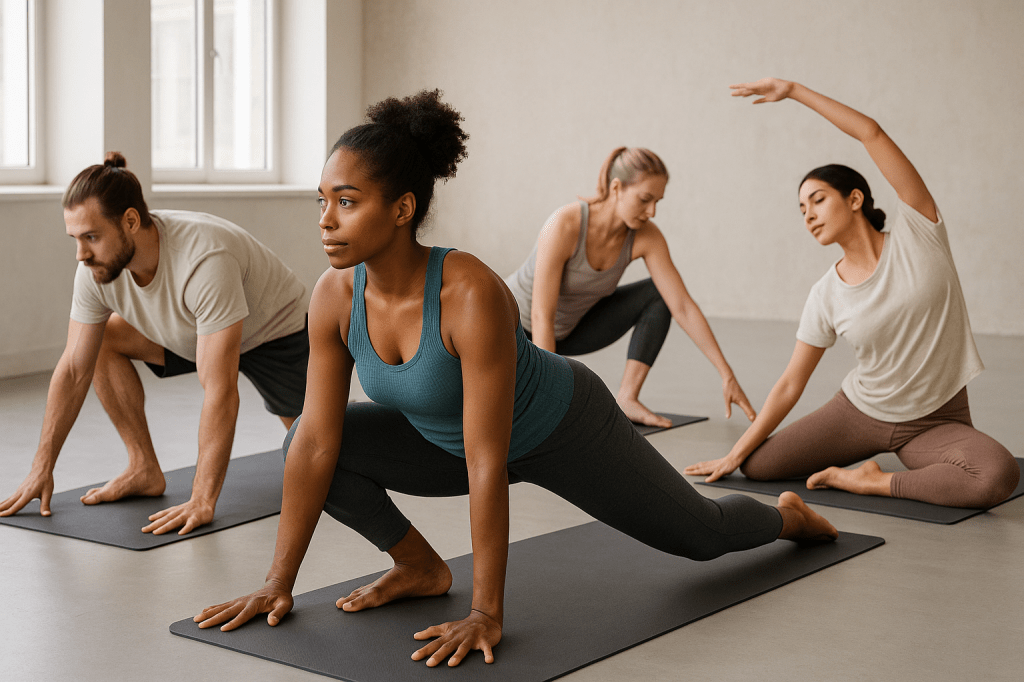
Your 10-Minute Daily Mobility Routine for Yogis

No equipment needed. Just your body, your breath, and about 10 minutes of focused, mindful movement.

  1. Controlled Shoulder Circles (CARs)

Purpose: Helps unlock the shoulder joint while improving strength and control throughout your range of motion.

Instructions:

Stand or sit tall.

Extend one arm straight out in front of you.

Slowly move it in a full circle overhead and behind, like you’re tracing the biggest circle possible.

Keep the rest of your body still.

Reverse direction after 5 reps.

Reps: 5 slow circles in each direction per arm.

  1. Cat-Cow with Core Engagement

Why: Mobilizes your spine while training breath and core control.

Instructions:

Start on hands and knees.

Inhale: Arch your back, lifting your tailbone and chest (Cow).

Exhale: Gently curve your spine upward, drawing your chin toward your chest and tucking your pelvis under.

Focus on moving one vertebra at a time.

Time: 1 minute of slow, controlled reps.

  1. 90/90 Hip Switches

Why: Opens hips and strengthens rotational movement.

Instructions:

Sit down with both knees bent — position one leg in front of you and the other out to the side, forming roughly 90-degree angles at each knee.

Keep your chest tall.

Carefully twist your hips to move both legs over to the other side, making sure your hands stay lifted off the floor.

Control the motion — avoid rushing.

Reps: 10 switches total (5 per side).

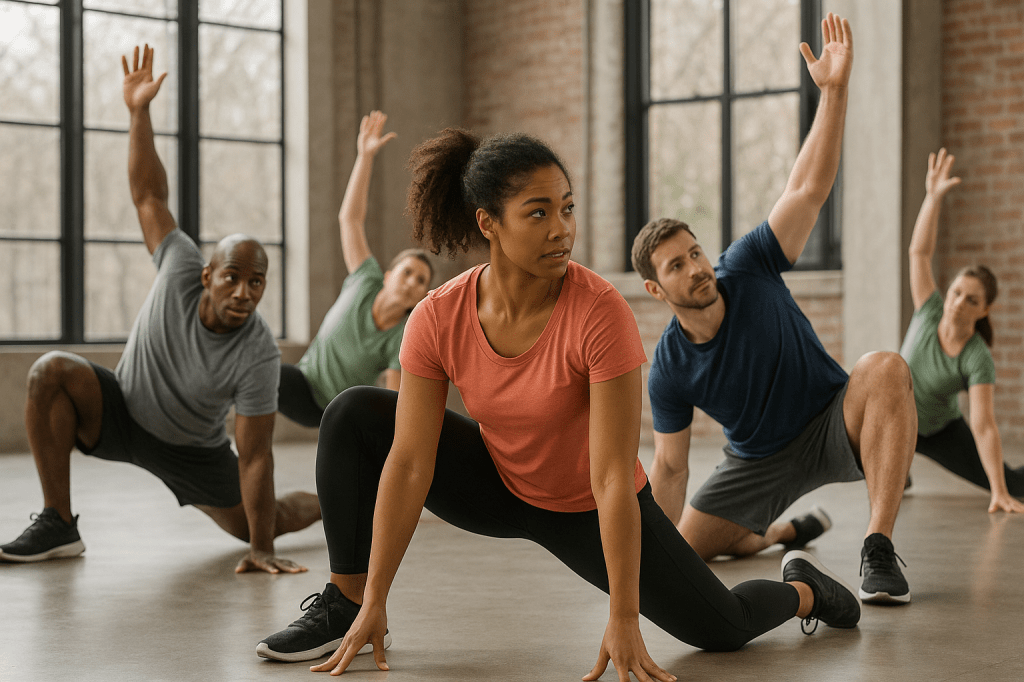
  1. Lunge with Spinal Twist

Why: Stretches hip flexors and thoracic spine — key for many yoga poses.

Instructions:

Step one foot forward into a deep lunge.

Place opposite hand on the floor.

Lift your opposite arm toward the ceiling as you rotate your torso to face your front leg.

Hold 2–3 breaths, then switch.

Reps: 5 reps per side.

  1. Deep Squat Hold with Arm Reaches

Why: Improves ankle, hip, and thoracic mobility.

Instructions:

Stand with feet hip-width apart.

Sink into a deep squat (heels down if possible).

Extend one arm upward as you gently press the opposite elbow against the inside of your knee for support.

Switch arms slowly.

Time: Hold the squat for 1–2 minutes, alternating arm reaches every 20 seconds.

  1. Downward Dog to Plank Rolls

Why: Engages shoulders, spine, and core control through transitions.

Instructions:

Start in Downward Dog.

Roll your spine forward into Plank position, stacking shoulders over wrists.

Roll back into Downward Dog with control.

Avoid collapsing — move smoothly.

Reps: 10 reps total.

  1. Supine Glute Bridge with Knee Pull

Why: Activates glutes, mobilizes hips, and stretches hamstrings.

Instructions:

Position yourself lying on your back, with your knees bent and feet placed about hip-distance apart.

Lift hips into a bridge, then pull one knee toward your chest.

Hold for 2–3 seconds, return foot to floor, repeat on the other side.

Reps: 10 reps each side.

Helpful Tips for Staying Consistent

Pair it with an existing habit (like brushing teeth or before yoga).

Use a timer so you don’t overthink it — just flow.

Stay present. Each rep is a chance to reconnect with your body.

Benefits for Yogis

Reduces injury risk during dynamic flows or deep stretches

Improves joint strength and body control

Supports smoother transitions between poses

Enhances body awareness on and off the mat

Encourages sustainable, long-term movement

Final Thought

Yoga is about more than being flexible — it’s about moving with intention, grace, and control. This mobility routine strengthens the foundation that supports your practice. Add it to your daily rhythm and feel the difference in how you move, stretch, and flow.

Categories
athletes cardio cardio & endurance exercises fat loss Fitness flexibility & mobility Gym yogis

Top Cardio Exercises for Yogis Lovers

If your usual go-to is a calming yoga flow, you might not think of cardio as a natural fit. But if you’re looking to improve stamina, boost heart health, or simply find more energy throughout your day, mixing cardio & endurance work into your wellness routine can deeply enhance your overall fitness.

This guide is designed for yogis who want to maintain their mind-body connection while exploring movement that elevates the heart rate in a sustainable, mindful way.

Why Should Yogis Add Cardio?

Yoga builds strength, balance, and flexibility—but it often lacks the sustained intensity needed to challenge your cardiovascular system. Adding 2–3 cardio sessions per week can:

Boost your endurance for long practices

Improve oxygen flow for breathwork (pranayama)

Enhance circulation and cardiovascular health

Help with detoxification through sweat

Balance a sedentary lifestyle if you sit often during the day

Best Cardio Exercises for Yogis (With Instructions)

These exercises are gentle on the joints, accessible for all levels, and easy to integrate into a yoga-friendly lifestyle.

  1. Walking or Hiking

Why it works: Low-impact, meditative, and great for stamina.

How to do it:

Aim for 30–45 minutes, 3–4 times per week.

Focus on maintaining an upright posture and relaxed breath.

If you walk after yoga, let your body stay in “flow mode” by moving mindfully, not briskly.

Try breath syncing: inhale for 4 steps, exhale for 4 steps.

Tip: Nature walks offer grounding benefits—perfect for yogis who practice mindfulness or meditation.

  1. Jump Rope

Why it works: Builds coordination and raises your heart rate quickly.

How to do it:

How to Get Started with Jump Rope:

Begin with short bursts—jump for about 30 seconds, then take a 30-second break.

Complete 5 cycles to keep the session around 5 minutes.

Keep your elbows tucked in and aim for quick, light jumps—think of it more like bouncing than leaping.

Focus on soft landings to ease pressure on your joints; imagine you’re skipping quietly on a yoga mat.

Pro tip: Use jump rope as a warm-up before a vinyasa session to get your blood flowing and loosen up tight muscles.

  1. Swimming

Why it works: Full-body, low-impact, and breath-focused.

How to do it:

Swim laps for 20–30 minutes, mixing strokes (freestyle, breaststroke).

Focus on steady, rhythmic breathing—inhale through the mouth, exhale through the nose if possible.

Alternate your pace—swim two laps at a relaxed speed, then follow with one lap at a more vigorous effort.

Tip: Swimming pairs beautifully with yoga’s emphasis on breath control and fluid motion.

  1. Dance or Free Movement

Why it works: Cardio disguised as joy. Great for creativity and emotional release.

How to do it:

Put on your favorite playlist.

Set a timer for 10–20 minutes.

Move freely—there’s no “right” way.

Let your breath and body lead. Don’t think; just move.

Tip: Follow up with a short yin yoga sequence to integrate and settle your energy.

  1. Bodyweight Intervals (Yoga + HIIT Hybrid)

Why it works: Increases heart rate while using functional movement that supports yoga poses.

How to do it:

Perform the following as a 10-minute circuit, 2–3 rounds:

Exercise Duration Instruction
Jumping Jacks 30 seconds Keep shoulders relaxed, land lightly

High Knees 30 seconds Bring knees to hip height, engage your core

Mountain Climbers 30 seconds Keep a strong plank shape, drive knees forward

Rest 30 seconds Breathe deeply and reset posture

Chair Pose Pulses 30 seconds From utkatasana, pulse 2–3 inches up/down slowly

Plank to Down Dog 30 seconds Flow between poses for breath and shoulder mobility

Suggestion: Wrap up your session with a calming pose like savasana or a gentle reclining twist to help your body unwind.

How to Combine Cardio & Yoga

Below is a practical example of how you can organize your weekly schedule:

Day AM PM

Monday Light walk (30 min) Yin Yoga (20–30 min)

Tuesday Vinyasa Yoga (45 min) –

Wednesday Swimming (20–30 min) Gentle stretching

Thursday HIIT-style circuit (20 min) Meditation (10 min)

Friday Rest or easy hike Restorative Yoga

Saturday Free dance (15 min) Flow Yoga

Sunday Long walk or rest Journaling + breathwork

Final Thoughts
Cardio & endurance exercises don’t compete with your yoga—they complement it. When done mindfully, they boost energy, deepen awareness, and improve your resilience both on and off the mat. Start small, listen to your body, and let your practice evolve to support your full fitness potential.

Categories
busy schedules Fitness flexibility flexibility & mobility

Daily Mobility Routine to Prevent Busy Schedules

Modern life doesn’t leave much breathing room. Between tight calendars and digital overload, it’s easy to neglect your body’s basic need for movement. You don’t have to dedicate hours at the gym or join a yoga class to enhance your mobility and flexibility. With a short, daily routine, you can stay limber, reduce aches, and maintain physical well-being — even with the busiest schedule.

Why Flexibility & Mobility Matter

Often overlooked, mobility and flexibility are key components that support overall physical health and performance. While flexibility refers to your muscles’ ability to stretch, mobility is about how well your joints move through a range of motion. When you maintain both, you’re more likely to:

Move efficiently and pain-free

Prevent stiffness and long-term injury

Improve posture and circulation

Feel more energized during your day

For those balancing busy schedules, focusing on mobility is one of the most efficient ways to stay fit without the time commitment of traditional workouts.

Quick Daily Mobility Routine (5–7 Minutes)

This mobility routine is designed to be done anywhere — at home, the office, or even during travel. No equipment required. Just your body, a little space, and consistency.

  1. Neck Rolls (30 seconds)
    Purpose: Relieves neck stiffness from long hours at a desk.

Instructions:

Sit or stand tall with your shoulders relaxed.

Slowly lower your chin to your chest.

Gently circle your head to the right for roughly 15 seconds, maintaining a steady and fluid motion throughout.

Reverse direction for another 15 seconds.

Move slowly — no jerking or forcing.

  1. Shoulder Rolls (30 seconds)

Purpose: Loosens tight shoulders and improves posture.

Instructions:

Stand with arms relaxed at your sides.

Shoulder Rotations (30 seconds)

Start by moving your shoulders forward in large, deliberate circles for about 15 seconds.

Next, change direction and move your shoulders in backward circles for an additional 15 seconds.

As you move, breathe deeply and aim to exaggerate each rotation to release tension.

Hip Circles (1 minute)

Purpose: Loosens tight hips and alleviates tension in the lower back while promoting better joint movement.

Instructions:

Stand with your feet shoulder-width apart.

Place hands on your hips.

Slowly rotate your hips in wide circles to the right for 30 seconds, keeping the motion steady and controlled.

Repeat counter-clockwise for 30 seconds.

Keep your feet planted and upper body relaxed.

  1. World’s Greatest Stretch (1 minute per side)

Goal: A comprehensive stretch that focuses on the hips, hamstrings, spine, and shoulders.

Instructions:

Step your right foot forward into a lunge.

Bring your left hand down to the floor and gently lower your right elbow inside your right knee.

Pause here for about 10 seconds, allowing your hips to open.

Next, twist your upper body to the right and reach your right arm toward the sky. Hold this stretch for another 10 seconds.

Return to the starting lunge position, step back, and switch sides to repeat the movement on the left.

Do 2–3 reps per side.

  1. Downward Dog to Cobra Flow (1 minute)

Purpose: Increases spine, shoulder, and core flexibility.

Instructions:

Start in a push-up position.

Lift your hips upward and backward, creating an inverted V shape as you move into Downward Dog.

Stay in the position for about five seconds, concentrating on the stretch through your back and the backs of your legs.

Gently lift your chest upward into Cobra Pose, allowing a slight bend in your elbows and keeping your shoulders relaxed and away from your ears.

Alternate between the two positions for 1 minute, moving slowly and with control.

Tips to Make It a Daily Habit

Stack it with another habit (right after brushing your teeth or before lunch).

Create a regular alert on your phone or schedule to help you stay consistent.

Keep it visible – post the routine on your wall or desk.

Start small – even just 3 minutes a day is progress.

The Benefits You’ll Notice

Less stiffness and tightness, especially if you sit a lot

Better posture and spinal alignment

Easier movement during everyday tasks

Improved focus and mood, thanks to intentional movement breaks

Long-term injury prevention without a heavy time investment

Final Thoughts

It’s not about making time — just dedicating a few minutes and being ready to get moving. A daily mobility routine gives your body what it needs without stealing time from your priorities. Whether it’s before your morning coffee or as a midday reset, a little flexibility & mobility goes a long way toward feeling strong and capable, no matter how packed your schedule is.

Categories
Fitness fitness-tips flexibility flexibility & mobility home workout mobility recovery recovery & wellness strength training yoga

Flexibility Yoga Poses for Better Flexibility

If you’ve ever felt stiff after a long day or sore from a workout, you know how important flexibility is for overall fitness and well-being. Flexibility improves your mobility, reduces injury risk, and helps your body feel more relaxed. Incorporating specific yoga poses into your routine can transform how you move—and feel.

Here’s a guide to six effective yoga poses designed to enhance your flexibility & mobility, complete with step-by-step instructions to get you started safely and confidently.

Why Flexibility Matters

Tight muscles limit your movement and can cause discomfort. Increasing flexibility doesn’t just help you touch your toes—it improves circulation, balance, and even stress relief.

6 Yoga Poses to Improve Flexibility (with Instructions)

  1. Downward Facing Dog (Adho Mukha Svanasana)

Instructions:

Begin on all fours, making sure your wrists line up right under your shoulders and your knees sit directly beneath your hips.

Spread your fingers wide to get a good grip on the floor, pressing down through your palms.

Curl your toes under, then slowly lift your hips up and back toward the ceiling, straightening your legs as much as feels good—no need to push it.

Let your head hang naturally between your arms and keep your eyes looking toward your feet.

Stay here for about 30 seconds to a minute, taking slow, deep breaths to really settle in.

To release, gently lower your knees back down.

Benefits: Lengthens spine, calves, hamstrings, and shoulders.

  1. Low Lunge (Anjaneyasana)

Instructions:

Low Lunge (Anjaneyasana)

Start in Downward Dog, then bring your right foot forward, planting it right between your hands. Make sure your right knee sits comfortably over your ankle.

Lower your left knee down to the floor and untuck those toes so your foot can rest easy.

Lift your chest up and reach your arms overhead, palms facing each other like you’re reaching for the sky.

Keep your core tight and hips facing forward—don’t let them twist.

Hold this pose for about 30 seconds, then switch sides and do the same on your left leg.

Why it’s great: This move opens up your hip flexors and gives your quads and groin a nice stretch.

Seated Forward Fold (Paschimottanasana)

Sit down on the floor with your legs stretched out straight in front of you.

Take a deep breath in and sit tall, lengthening your spine.

As you breathe out, gently fold forward from your hips, reaching toward your feet. If you can’t reach your toes comfortably, grab a strap or towel around your feet to help.

Keep your back nice and straight—try not to round your shoulders or collapse forward.

Hold here for 30 seconds to a minute, breathing steadily and calmly.

When you’re ready to come back up, take a deep breath and slowly roll your spine up bit by bit—like stacking building blocks from the base up.

Why it’s great: This stretch works wonders for your hamstrings and lower back.

Cat-Cow Stretch (Marjaryasana-Bitilasana)

Start on your hands and knees with your wrists lined up under your shoulders and knees under your hips.

Take a big inhale and arch your back, lifting your tailbone and head toward the ceiling — this is Cow Pose.

Exhale, round your spine, tucking your chin and tailbone (Cat Pose).

Flow smoothly between these two positions with your breath for 1-2 minutes.

Benefits: Warms up and increases spinal flexibility.

  1. Pigeon Pose (Eka Pada Rajakapotasana)

Instructions:

Pigeon Pose (Eka Pada Rajakapotasana)

From Downward Dog, swing your right knee forward and set it just behind your right wrist.

Stretch your left leg straight out behind you, keeping your hips facing forward and even.

Slowly lower your chest down toward your right shin, using your hands to support your upper body.

Hang out here for 30 seconds to a minute, then switch sides and do the same on the left.

If you need extra support, pop a folded blanket under your hip to keep things comfy and balanced.

Why it rocks: This pose is a deep hip opener that really helps release built-up tension.

Bridge Pose (Setu Bandhasana)

Sprawl out on your mat and get comfy. Bend your knees and plant your feet hip-width apart—close enough that your fingertips can just skim your heels.

Press your feet down firmly and gradually raise your hips, as if you’re gently lifting off the ground.

Keep your thighs parallel and close together, gently activating your glutes to stay balanced and steady

Hold the stretch for anywhere between 30 seconds and a minute, keeping your breath steady and relaxed.

When it feels right, slowly lower your hips back down, gently stacking your spine back onto the mat.

Why it’s awesome: Bridge strengthens your glutes and gives your chest and spine a nice stretch.

Tips for Building Flexibility

Always start with some light movement or dynamic stretches to warm up your muscles before you dive in.

Use props like straps or blankets to support your body.

Breathe deeply — steady breath helps muscles relax.

Avoid pushing beyond your limits; flexibility builds gradually.

The Benefits Go Beyond the Mat

Greater flexibility & mobility enhances your everyday movements, improves posture, and speeds recovery after workouts. When your body moves with ease, life feels better.

Final Thoughts

These yoga poses offer a practical and gentle approach to boosting flexibility and supporting your overall fitness. Consistent practice, patience, and mindful breathing will help you unlock a freer, more agile body.

Start today, and watch how your flexibility transforms your wellness journey.

Categories
exercises Fitness flexibility flexibility & mobility mobility stretching

Dynamic vs. Static Stretching: What’s Best for Flexibility?

When it comes to improving flexibility & mobility, understanding the difference between dynamic and static stretching can be a game-changer for your fitness routine. Both types of stretching serve important roles, but knowing when and how to use them can maximize your performance, prevent injuries, and enhance your overall flexibility.

What is Dynamic Stretching?
Dynamic stretching is all about moving your body in a smooth, controlled way that wakes up your muscles and gets them ready to move freely. Imagine things like leg swings, arm circles, or walking lunges — simple moves that get your blood pumping and muscles warmed up before you dive into your workout or any physical activity.

How to Do Dynamic Stretching:
Leg Swings: Find a wall or something sturdy to hold onto. Swing one leg forward and backward in a relaxed rhythm, gradually lifting it higher as you go. Aim for about 10 to 15 swings per leg.

Arm Circles: Stretch your arms out to the sides and start making circles — first small, then bigger — moving forward for about 20 seconds, then switch to backward circles for the same amount of time.

Walking Lunges:
Step forward like you mean it, then sink down into a lunge so your back knee hovers just above the floor. Push through your front heel to stand up and step into the next lunge with the opposite leg. Keep that rhythm going for 10 to 12 lunges per side — think of it as a walking stretch with bonus strength work.

This kind of movement gets your muscles loose, your joints moving smoothly, and your body ready to crush whatever workout you’ve got planned.

Benefits of Dynamic Stretching for Flexibility:
Improves mobility by preparing joints for movement

Enhances muscle activation and coordination

Reduces muscle stiffness and risk of injury

Boosts overall performance in sports and fitness

What’s Static Stretching, Anyway?

Static stretching is the chill side of flexibility work. It’s basically hitting pause and sinking into a stretch, holding it still for about 20 to 60 seconds. This gives your muscles and tendons time to gently open up and let go of tension. Think of it as your body’s way of exhaling after a workout — the calm, feel-good moment where tight spots get some much-needed attention and your flexibility gets a little boost.

How to Do Static Stretching (Without Overthinking It):

Seated Hamstring Reach:

Find a comfy spot on the floor. Stretch one leg out in front of you and fold the other so the sole of your foot rests near your opposite thigh. Lean gently toward your extended foot — no need to yank yourself forward — and hold for about 30 seconds. Then switch sides and repeat. Breathe deeply and let gravity help you out.

Chest Opener in a Doorway:

Stand in a doorway and place your forearms or hands on either side of the frame, elbows bent. Take a small step forward and let the stretch open up across your chest and shoulders — you’ll feel it kick in as you ease into it. Hold for 20 to 30 seconds while keeping your posture relaxed.

Standing Quad Stretch:

Stand up tall and balance on one leg. Bend the other knee, bringing your heel up toward your butt. Grab your ankle with your hand and hold the stretch through the front of your thigh. Hang out in the stretch for about 20 to 30 seconds, then switch it up and do the other leg. Tip: if you’re feeling a bit wobbly, grab a wall or chair for support — no shame in staying steady!

Static stretching is a great way to wrap up your workout or simply give your body some love on a rest day. It’s all about slowing down, tuning in, and giving your muscles time to breathe and recover.

Benefits of Static Stretching for Flexibility:
Increases muscle length and joint range of motion over time

Helps cool down muscles and aids recovery

Promotes relaxation and reduces muscle tension

Supports long-term flexibility gains when practiced consistently

Which One Should You Choose?

The simple answer: both! But timing and purpose matter.

Before your workout or physical activity, dynamic stretching is your best bet. It preps your body by increasing mobility and circulation, which can enhance performance and reduce injury risk.

After your workout or during dedicated flexibility sessions, static stretching helps elongate muscles and improve flexibility in a calm, controlled way.

For anyone serious about fitness, incorporating both dynamic and static stretching will build a solid foundation for mobility and flexibility that supports your goals.

Tips for Maximizing Flexibility & Mobility

Warm up with dynamic stretches tailored to your activity.

Use static stretches to target tight or overworked muscles post-exercise.

Be consistent—flexibility improves gradually over time.

Pay attention to what your body’s telling you — stretching shouldn’t feel like a battle. If it hurts, ease up. Discomfort is okay; pain is your cue to back off.

Combine stretching with strength training for balanced fitness.

Final Thoughts

Flexibility and mobility aren’t just extras — they’re just as important as lifting weights or doing cardio. Mixing in the right balance of dynamic and static stretching can seriously improve how you move, help you steer clear of injuries, and just make your body feel better overall.

Take the time to understand what your body needs at each moment—dynamic stretches to wake it up, static stretches to calm and lengthen it. Your muscles will thank you, and your fitness journey will become more enjoyable and sustainable.