Categories
Fitness flexibility mobility women

Dynamic vs. Static Stretching: What’s Best for Women?

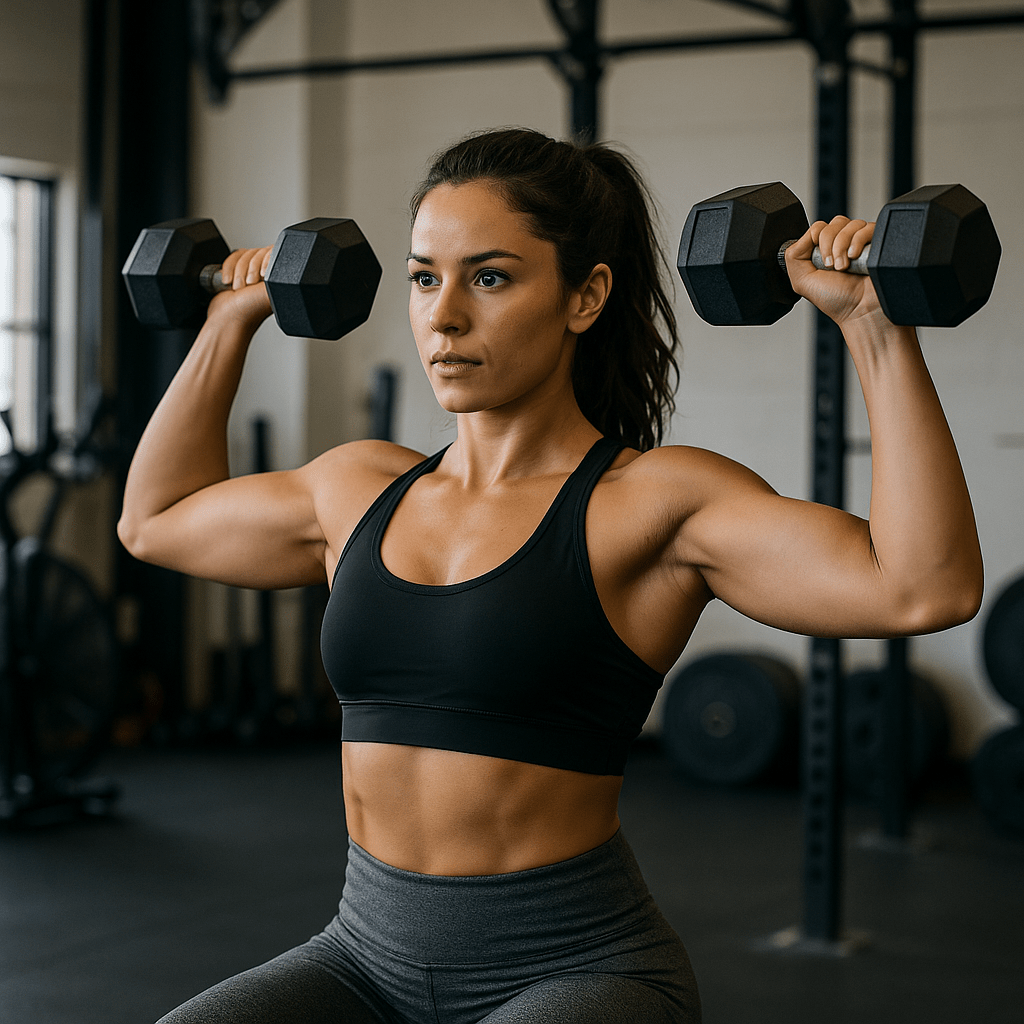
Whether you’re just starting your fitness journey or you’re a seasoned athlete, you’ve probably heard conflicting advice about stretching. Should you go for slow, deep holds—or quick, active moves? The truth is, both dynamic and static stretching play important roles in supporting flexibility & mobility, especially for women navigating unique fitness goals, body changes, and energy demands.

Let’s clear up the confusion, and help you build a stretch routine that works with your body, not against it.

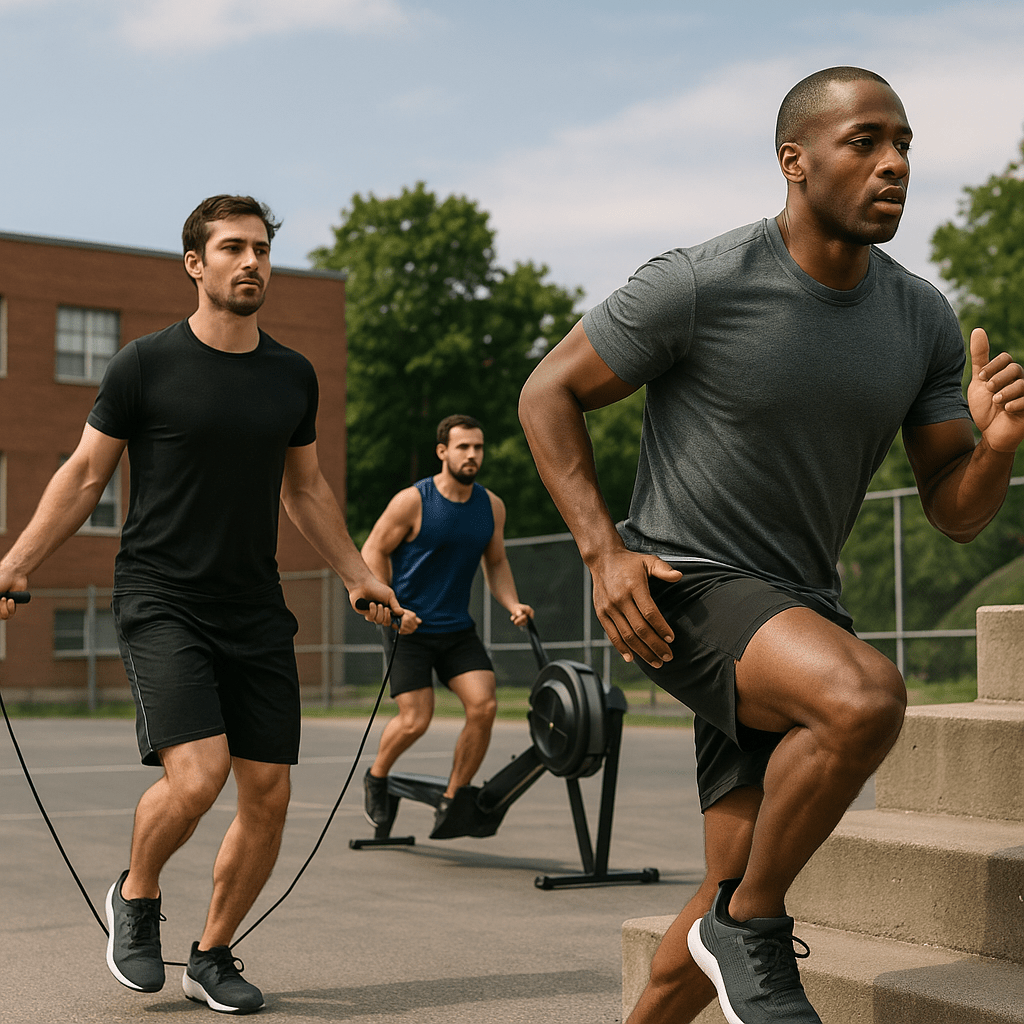
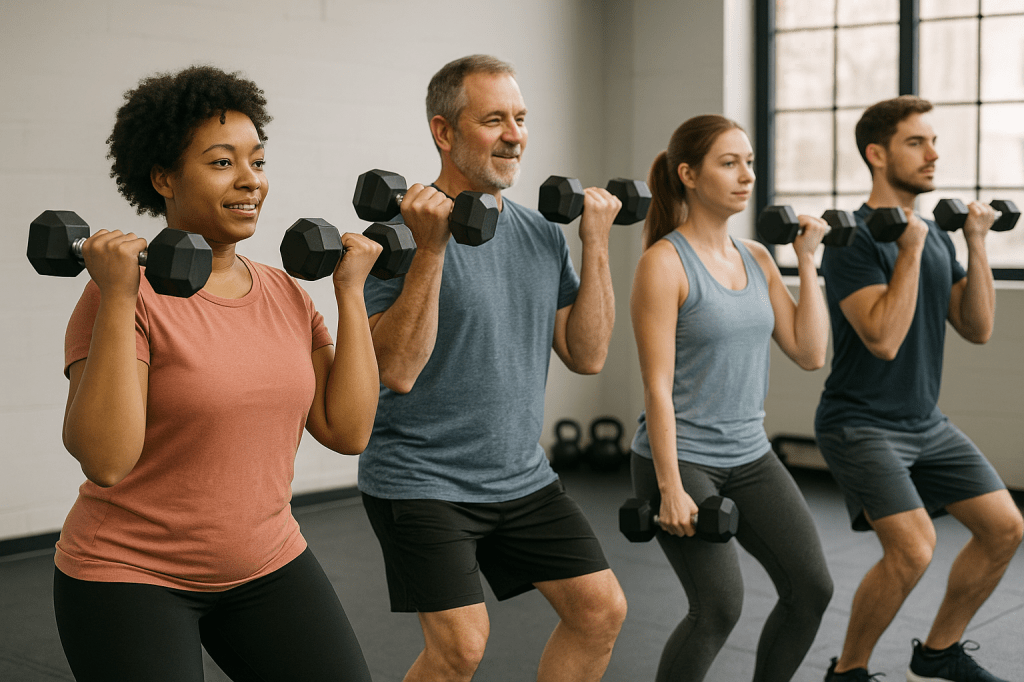
Dynamic Stretching: Best Before Workouts
What it is:
Dynamic stretching involves purposeful, movement-driven exercises that guide your joints through their entire range of motion in a smooth, controlled way.

It boosts circulation, wakes up your muscles, and gets your body physically and neurologically ready to perform.

Why it’s great for women:
It improves mobility, wakes up underused muscles, and supports balance—especially important for women dealing with tight hips, pelvic floor imbalances, or postural shifts.

Try This 5-Minute Dynamic Warm-Up (Before Workouts)
Leg Swings (30 sec/leg)

Stand tall, swing one leg forward and back. Keep your core engaged.

Arm Circles (30 sec)

Begin with small, steady circles and gradually increase their diameter. Move in one direction first, then switch to the other to even out the motion.

Hip Openers (1 min)

March in place, lifting your knee and circling it out to the side.

Walking Lunges with Reach (1 min)

Step forward into a lunge, reaching arms overhead. Alternate legs.

Torso Twists (1 min)

Stand tall, rotate side to side with soft knees and a steady rhythm.

Tip: Keep it fluid and controlled—this isn’t about speed but about prepping the body.

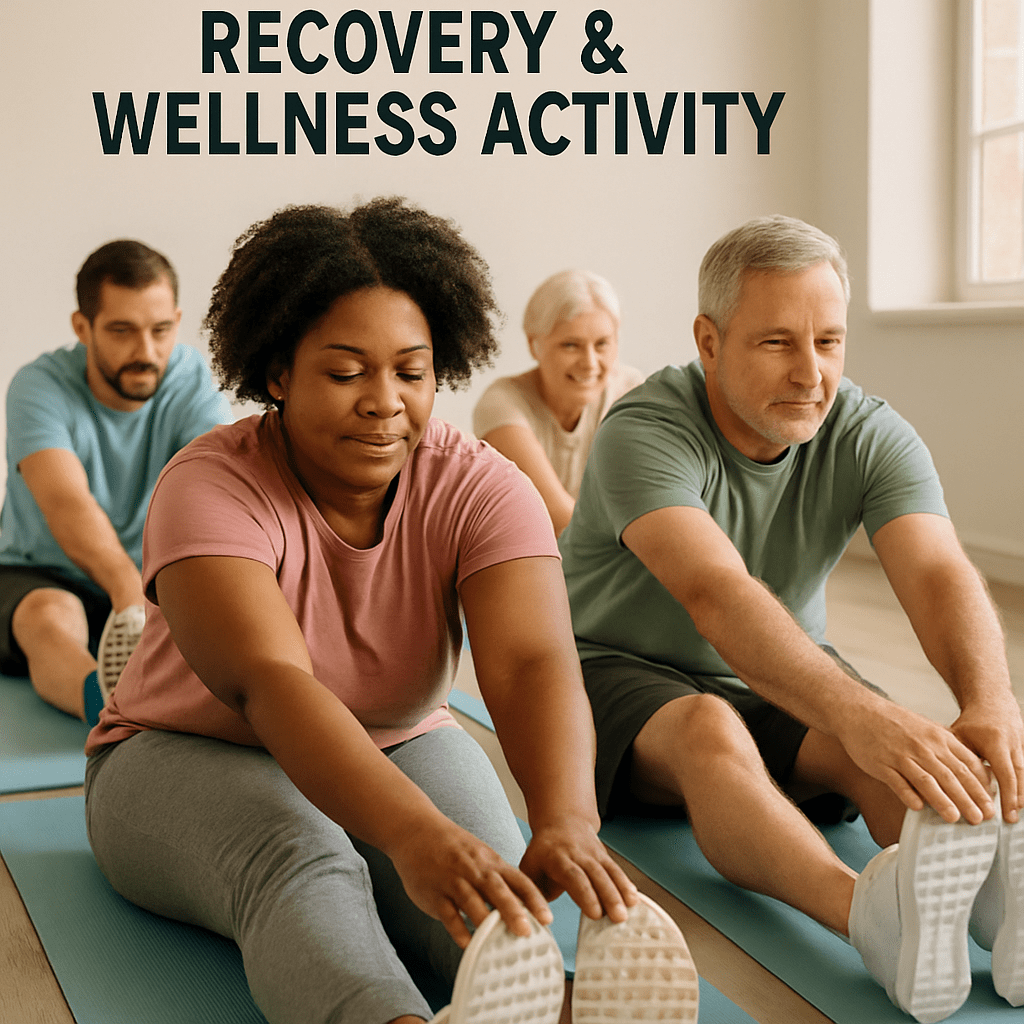
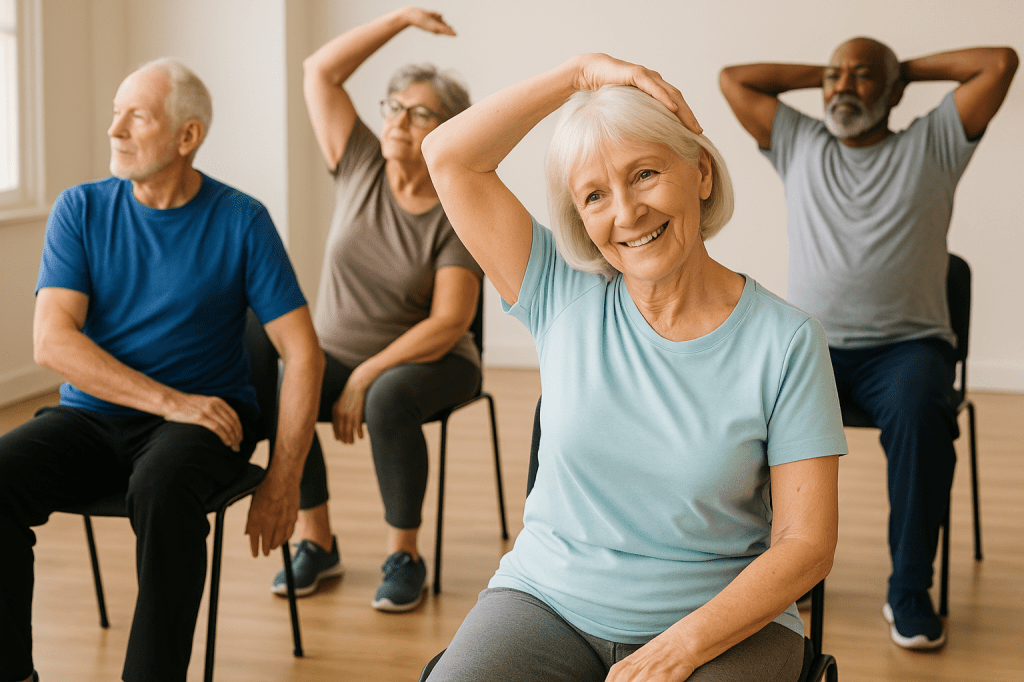
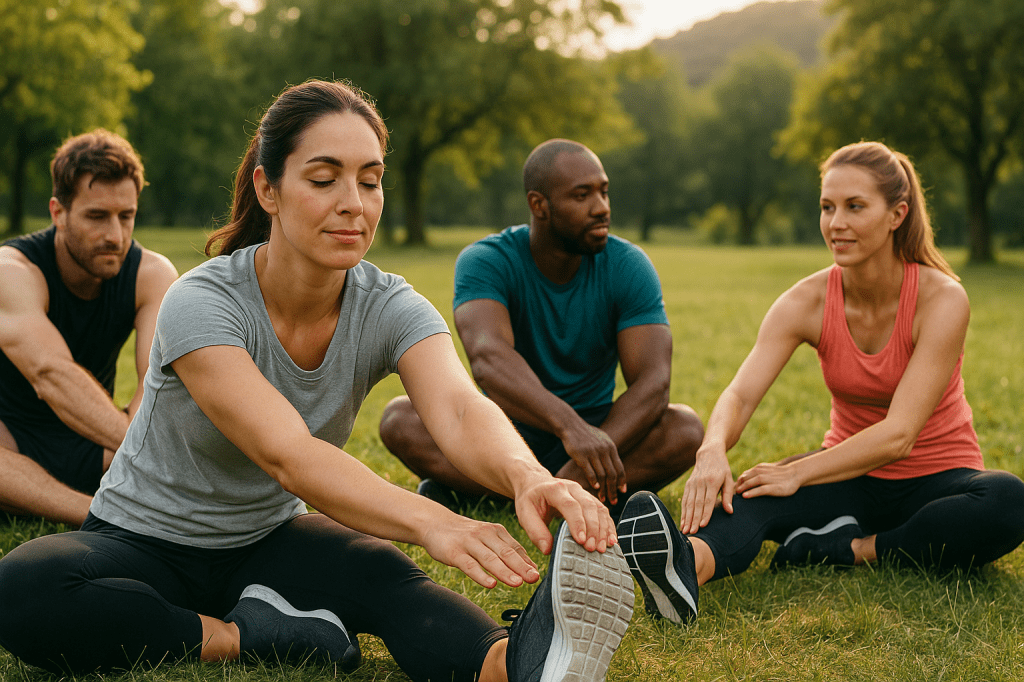
Static Stretching: Best After Workouts or on Rest Days
What it is:
Static stretching means staying in one position for 20 to 60 seconds, allowing your muscles to gradually extend and release tension.

Why it’s great for women:
It’s perfect for improving long-term flexibility, reducing soreness, and relaxing the nervous system—especially after high-stress workouts or long hours sitting at a desk.

Try This 5-Minute Static Cool-Down (After Workouts)
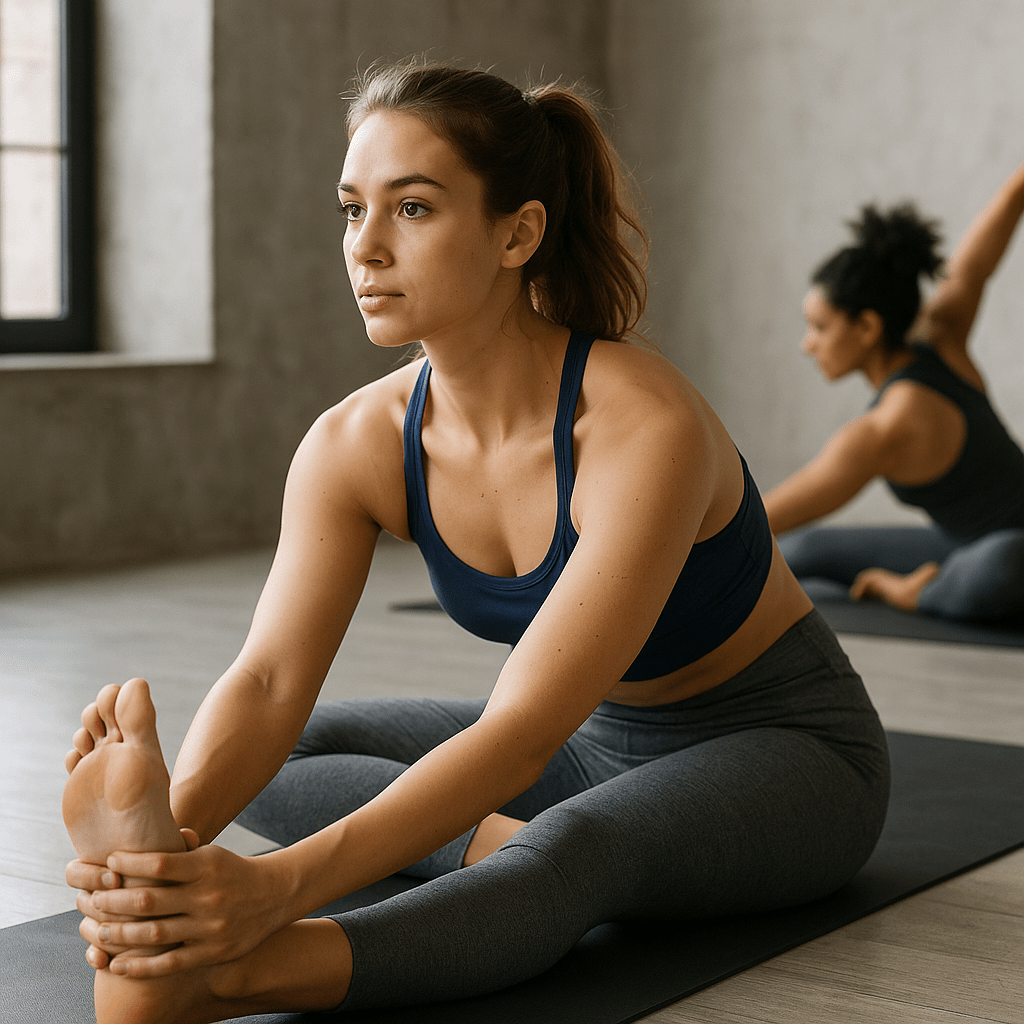
Seated Hamstring Stretch (30 sec/leg)

Sit on the floor, extend one leg, reach toward your foot. Keep your spine long.

Figure Four Stretch (30 sec/leg)

Lie flat on your back, cross one ankle over the other knee, and gently pull the leg that’s still on the ground toward your chest to stretch your hips deeply.

Chest Opener (1 min)

Clasp your hands behind your back, gently draw your arms away from your body, and open up through your chest.

Child’s Pose (1 min)

Sink down onto your knees, reach your arms forward along the floor, and softly rest your forehead down, allowing your body to unwind. Take slow, deep breaths.

Side-Lying Quad Stretch (30 sec/leg)

Lie on your side, pull your top foot toward your glutes. Keep knees close together.

Tip: Don’t bounce—stay relaxed, and breathe deeply into each stretch.

How to Know What You Need
Here’s a quick cheat sheet:

Goal/Activity Do This Before Do This After
Strength Training Dynamic (activation) Static (lengthening)
Running or Cardio Dynamic (mobility) Static (recovery)
Yoga or Pilates Gentle dynamic (flow) Deep static
Stress Relief Skip dynamic Static (relaxation)

Bonus Tips Just for Women
Pay attention to your cycle: During certain phases (like ovulation), your ligaments may be looser. Stretch gently.

Prioritize hips and spine: Women tend to carry tightness in the hips and low back, so make those areas a regular focus.

Be consistent: A few minutes each day makes a bigger impact than a 30-minute session once a week.

Conclusion: It’s Not One vs. the Other—It’s Both
Instead of asking “which is better?”, ask “when should I use each?”
Incorporating both dynamic and static stretching into your routine helps you build a more resilient, mobile, and flexible body—so you can move with confidence in your workouts and your everyday life.

Take 5–10 minutes before and after your workouts to care for your body. It’s a small investment with long-lasting rewards.

Categories
Fitness Muscle Gain strength training women

How to Increase Bench Press in Women Weeks

Building upper body strength is one of the most empowering aspects of any fitness journey. For many women, the bench press may seem intimidating at first—but with the right guidance and consistency, it becomes a powerful tool for building strength, boosting confidence, and reaching new levels of performance.

This guide provides a clear week-by-week approach to increasing your bench press safely and effectively, whether you’re just starting or looking to break through a plateau.

Why the Bench Press Matters for Women
The bench press is a powerhouse exercise in strength training, engaging not only the chest but also the triceps, shoulders, and core. When women add bench pressing to their routines, it can lead to a range of benefits, such as:

Improve posture

Strengthen bones and joints

Enhance athletic performance

Increase lean muscle mass

Before You Begin: Set Up for Success
Equipment Checklist
Flat bench

Barbell or dumbbells

Weight plates

Spotter (recommended for heavier lifts)

Resistance bands (optional for accessory work)

Safety First: Learn Proper Bench Press Form

Instructions:
Lie back on the bench so that your eyes line up precisely beneath the bar.

Place your feet flat on the ground, spaced roughly hip to shoulder-width apart for stability.

Grasp the bar with your hands a little wider than your shoulders—your wrists should stack over your elbows.

Maintain a gentle arch in your lower back, keeping your shoulder blades tucked down and back against the bench.

Carefully lift the bar out of the rack and slowly lower it to the middle of your chest, keeping the motion smooth and controlled.

Drive the bar upward by pressing through your arms until they’re fully extended at the top, without locking out your elbows.

Breathe out as you press; breathe in as you lower.

6-Week Bench Press Progression Plan
Follow this structured weekly plan to increase your bench press effectively:

Weeks 1–2: Master the Basics
Goal: Learn form, improve control, and build muscular endurance.
Instructions:

Warm-up: 5 minutes dynamic movement (arm circles, pushups, band pull-aparts)

Bench Press: 3 sets of 10–12 reps @ 50–60% of your estimated 1-rep max (1RM)

Accessory Work:

Dumbbell Chest Press: 3 sets x 12 reps

Push-ups: 3 sets to failure

Resistance Band Chest Flyes: 2 sets x 15 reps

Tips:

Rest 60–90 seconds between sets.

Focus on smooth, controlled reps—don’t rush.

Weeks 3–4: Build Strength & Volume
Goal: Increase strength by progressively adding weight.
Instructions:

Warm-up as above, add 1 light bench set before working sets.

Bench Press: 4 sets of 8 reps @ 65–75% of 1RM

Accessory Work:

Incline Dumbbell Press: 3 sets x 10 reps

Overhead Press: 3 sets x 8 reps

Bodyweight or Assisted Tricep Dips – Perform 3 sets of 10 to 12 reps, focusing on controlled movement and full range of motion.

Tips:

Increase weight weekly, as long as your form stays solid.

Start using a spotter if you’re pushing yourself.

Weeks 5–6: Power Phase
Goal: Build maximum strength through low reps and heavier loads.
Instructions:

Warm-up thoroughly. Include 2 light sets before main lifts.

Bench Press: 5 sets of 3–5 reps @ 80–90% of 1RM

Accessory Work:

Close-Grip Bench Press: 3 sets x 6 reps

Tricep Rope Pushdowns: 3 sets x 12 reps

Plank Hold: 3 rounds, 30–45 seconds

Tips:

Rest 2–3 minutes between heavy sets.

Keep a workout log by noting the weight you lift and the number of reps you complete in every session—it’s the best way to see your strength build over time.

Nutrition & Recovery Guidelines
Strength gains are made in the gym—but recovery fuels growth.
Instructions:

Protein intake should fall between 1.2 and 1.6 grams per kilogram of body weight each day to support muscle repair and growth.

Hydration: Drink water throughout the day—especially post-training.

Sleep: 7–9 hours of quality sleep per night.

Rest Days: Take at least 1–2 rest days per week; light movement is okay.

Mindset & Motivation
Strength training for women is about far more than just physical gains. It builds resilience, body awareness, and self-trust. Don’t worry about lifting “heavy enough” or comparing yourself to others. Just focus on showing up, progressing steadily, and celebrating your milestones—no matter how small.

Final Instructions: How to Stay Consistent
Set a schedule: 2–3 upper body sessions per week

Use a training log or app to track your progress

Re-test your 1-rep max every 6–8 weeks

Adjust weights based on performance, not ego

Ask for help or hire a coach if needed

Summary: What to Expect in 6 Weeks
Increased upper body strength

Improved muscle tone and endurance

Stronger core and posture

A powerful lift in self-confidence—both during workouts and in everyday life.

With patience, proper technique, and consistency, your bench press—and your overall strength—will go places you never imagined. This isn’t just a fitness goal. It’s a bold declaration that strength is something every woman owns and deserves.

Categories
beginners Fitness recovery & wellness

Cold Showers vs. Ice Baths: What’s Better for Beginners?

If you’re just starting your fitness journey or looking to improve your recovery and wellness routine, you’ve likely heard about the buzz around cold showers and ice baths. Both are popular recovery techniques used by athletes and fitness enthusiasts to reduce muscle soreness, boost circulation, and promote overall well-being. But which is better for beginners? Let’s dive into the benefits, practical tips, and clear instructions on how to safely get started with each method.

Understanding Recovery & Wellness in Fitness
Recovery is an essential part of any fitness routine, especially for beginners. It allows your muscles to repair, reduces inflammation, and helps prevent injury. Wellness goes beyond just physical recovery—it’s about creating habits that enhance your body’s natural ability to heal and recharge. Cold exposure methods like cold showers and ice baths have gained traction because they offer accessible, natural ways to support recovery and improve mental resilience.

Cold Showers: An Easy Start for Beginners
If you’re just beginning to explore cold therapy, starting with cold showers is an excellent and approachable way to ease into it. They’re simple, convenient, and can be integrated easily into your daily routine without special equipment.

Benefits of cold showers for beginners:

Enhanced Blood Flow: Exposure to cold water prompts your blood vessels to tighten, followed by expansion as your body warms, which helps stimulate healthier circulation.

Mood Boost: Cold showers can trigger the release of endorphins, helping reduce stress and increase alertness.

Mild Muscle Relief: Taking cold showers can soothe post-workout muscle aches and decrease inflammation for a quicker recovery.

How to take a cold shower safely as a beginner:

Begin with warmth: Kick off your shower using water at a pleasantly warm temperature.

Gradually Cool Down: Slowly lower the temperature over 1–2 minutes until the water feels cold but tolerable.

Focus on Breathing: Take slow, deep breaths to stay calm and reduce the shock of cold water.

Recommended Duration: Begin with 30 seconds to 2 minutes of cold water to gently ease your body into the experience.

Goal is to practice this routine 3 to 4 times a week to boost your tolerance and enhance your recovery.

Ice Baths: A Powerful Recovery Tool with Caution
An ice bath involves sitting in a tub of cold, icy water, typically kept between 50 and 59°F (10 to 15°C), to boost muscle recovery and reduce inflammation. They are more intense but offer deeper recovery benefits.

Benefits of ice baths:

Effective Inflammation Reduction: Immersing yourself in cold water is a highly efficient method for easing muscle inflammation.

Relieves Muscle Discomfort: Ice baths can significantly reduce the ache and stiffness that come with delayed onset muscle soreness (DOMS).

Builds Mental Strength: Withstanding the cold water challenge fosters greater discipline and enhances mental toughness.

Getting Started with Ice Baths Safely:
Start by filling your bathtub with cold water, then slowly add ice until the temperature settles around 50–59°F (10–15°C).

Getting Started: Limit your first few ice baths to just 3 to 5 minutes to let your body slowly get used to the cold temperatures without overdoing it.

Enter Slowly: Ease into the bath gradually to let your body adjust.

Stay Calm and Breathe: Focus on slow, controlled breathing to manage the cold shock.

Exit Carefully: When time’s up, get out slowly and dry off immediately. Warm up gradually afterward, avoiding hot showers right away.

Frequency: Limit ice baths to 1–2 times per week initially.

Caution: If you experience heart issues or circulatory concerns, be sure to speak with your healthcare professional before attempting ice baths.

Which is Better for Beginners?
Cold showers are usually the safer, more manageable starting point. They offer many recovery and wellness benefits without the intense shock of full immersion. Once you’ve developed some tolerance, ice baths can offer deeper recovery benefits and may become a more suitable option.

Final Thoughts
Both cold showers and ice baths play important roles in recovery and wellness for beginners and experienced athletes alike. Starting with cold showers helps ease your body into cold therapy, while ice baths can amplify recovery and build mental strength when used correctly.

Always listen to your body, start slow, and find what works best on your fitness and wellness journey.

Categories
Cold Showers fat loss Fitness recovery & wellness

Cold Showers vs. Ice Baths: What’s Better for Fat Loss?

When it comes to optimizing fat loss, fitness enthusiasts and athletes often explore recovery techniques beyond diet and exercise. Among these, cold exposure methods like cold showers and ice baths have gained attention for their potential benefits. So, which method truly delivers the best results for fat loss? Let’s dive into the science, practical applications, and wellness benefits — including step-by-step instructions — to help you decide.

Understanding Cold Exposure and Fat Loss
Exposure to cold stimulates brown fat, a type of tissue that helps burn calories by producing heat.

This heat-generating, or thermogenic, response can aid in fat loss by boosting how many calories your body uses.

That said, the effectiveness varies based on how cold the exposure is, how long it lasts, and individual differences.

Cold Showers: Simple and Accessible
Cold showers mean standing under chilly water—usually ranging from about 50°F to 70°F—for several minutes. They’re simple to add to your everyday routine, need no special gear, and provide advantages for recovery, overall wellness, and supporting fat loss.

Benefits:
Boosts metabolism and alertness.

Reduces muscle soreness and inflammation.

Builds mental toughness and resilience.

How to Do a Cold Shower for Fat Loss:
Start Warm: Begin your shower with warm water to relax your muscles.

Gradually Cool Down: Slowly reduce the temperature over 1-2 minutes until it’s uncomfortably cool but manageable.

Time It Right: Stay under cold water for 2–5 minutes. Beginners can start with 30 seconds and build up gradually.

Focus on Breathing: Take deep, steady breaths to help your body adapt and reduce shock.

End Warm or Cold: Some prefer to finish cold for maximum benefits, others warm for comfort. Both are fine.

Frequency: Aim for 3-5 times per week for consistent fat loss and recovery benefits.

Ice Baths: Intense and Effective
Ice baths involve immersing your body in a tub filled with ice and water, typically between 32°F and 55°F, for 10 to 15 minutes. This method offers intense cold exposure, which can amplify fat-burning effects and recovery.

Benefits:
Increases calorie burn through intense thermogenesis.

Reduces muscle inflammation and speeds recovery.

Strongly activates brown fat tissue.

How to Take an Ice Bath for Fat Loss:
Prepare the Bath: Fill a tub with cold water and add enough ice to lower the temperature to around 50°F or below.

Check Temperature: Use a thermometer to ensure safe levels; don’t go below 32°F to avoid frostbite risks.

Enter Slowly: Ease into the bath gradually, sitting down carefully to let your body adjust.

Set a Timer: Limit sessions to 10-15 minutes to avoid hypothermia or excessive stress.

Stay Calm: Focus on controlled breathing to maintain relaxation and reduce shock.

Warm Up Afterwards: After exiting, dry off and warm yourself gradually with a towel or warm clothes.

Frequency: Limit ice baths to 2-3 times per week to avoid overexposure and give your body time to recover.

Which Is Better for Fat Loss?
Ice baths may offer more potent fat-burning benefits due to deeper cold exposure and stronger brown fat activation. However, cold showers are easier to integrate into daily life and still support recovery and fat loss effectively. Starting with cold showers and gradually advancing to ice baths—if desired and safe—can be an excellent, balanced strategy.

Tips for Safe and Effective Cold Exposure
Always consult a healthcare professional if you have heart conditions, circulatory issues, or other health concerns.

Never stay in ice baths longer than recommended.

Avoid cold exposure if you feel dizzy, numb, or extremely uncomfortable.

Combine cold exposure with proper nutrition, exercise, and rest for best results.

Final Thoughts on Recovery & Wellness for Fat Loss
Both cold showers and ice baths are valuable tools in your fat loss and fitness toolkit. Used consistently and safely, they enhance recovery, boost metabolism, and promote overall wellness. Remember, cold exposure complements—not replaces—healthy habits like balanced eating and regular physical activity.

Categories
cardio Fitness men Muscle Gain recovery & wellness

Top Cardio Exercises for Men Lovers

Whether you’re just starting your fitness journey or looking to level up your endurance game, cardio plays a crucial role in overall health and performance. For men who are passionate about fitness—or those who simply want to feel more energized, stronger, and healthier—finding the right cardio exercises is key. This guide explores some of the top cardio workouts that boost endurance, build stamina, and support long-term fitness goals.

Why Cardio Matters for Men
Cardiovascular exercise isn’t just for weight loss—it’s foundational for heart health, stamina, and overall energy. Men often focus on strength training, but adding regular cardio to your routine can elevate your performance, enhance recovery, and even improve mental clarity.

Top Cardio Exercises for Men
Here’s a breakdown of high-impact and versatile cardio options that combine effectiveness with variety.

  1. Running (Outdoors or Treadmill)
    Simple, accessible, and powerful—running helps build endurance quickly. Whether you prefer trail runs, sprint intervals, or steady-state jogs, running challenges your cardiovascular system while also supporting muscle tone in the legs and core.

Tip: Alternate between sprints and jogs to incorporate HIIT and avoid plateaus.

  1. Rowing
    Rowing is a full-body workout that emphasizes both upper and lower body strength while improving cardiovascular endurance. It’s low-impact and especially effective for men looking to improve posture and core stability.

Technique Tip: Focus on driving through the legs and finishing with a strong pull from the back and arms for maximum benefit.

  1. Jump Rope
    The jump rope might look simple, but it’s one of the most effective cardio tools out there. It sharpens coordination, builds agility, and gets your heart rate up in seconds. Great as a quick warm-up or powerful enough to stand alone as a full workout.

Pro Tip: Jump for 30 seconds, rest for 15, and repeat to boost intensity without burning out Repeat for 10 minutes.

  1. Cycling (Indoor or Outdoor)
    Cycling builds endurance effectively without putting extra stress on your joints. It’s also a great option for those who enjoy long rides and want to explore new environments.

Bonus: Indoor cycling classes can add intensity and motivation through structured routines.

  1. Stair Climbing or Hills
    Whether it’s a stair machine or an actual flight of stairs, climbing builds lower body strength while elevating your heart rate fast. For men focused on leg power and conditioning, this is a game changer.

Movement Tip: Keep a steady flow, power through your glutes, and stay tall to avoid unnecessary tension.

Incorporating Cardio Into Your Routine
How Often: Target 3 to 5 workouts each week, adjusting based on what you’re working toward.

Duration: 20–45 minutes is ideal for most workouts.

Variety: Mix modalities to keep things interesting and prevent overuse injuries.

The Benefits Go Beyond Fitness
The effects of cardio go far past the gym—it helps you feel stronger, sharper, and more energized day to day. Improved sleep, reduced stress, enhanced mood, and better focus at work are just a few rewards. For men who want to maintain energy and sharpness as they age, cardio & endurance training is non-negotiable.

Final Thoughts
Whether you’re training for a marathon or just want to feel less winded on the stairs, cardio should be a core part of your fitness plan. Choose the exercises that excite you, challenge yourself, and stay consistent. Your body—and your mind—will thank you.

Categories
Fitness flexibility seniors

Improve Your Posture with These Seniors Stretches

As we age, maintaining good posture becomes more than a matter of appearance — it’s essential for overall health, balance, and quality of life. Poor posture can contribute to aches, fatigue, and even an increased risk of falls. The good news? With the right stretches and a consistent routine, seniors can significantly improve both flexibility and mobility — two critical components of fitness that support healthy posture.

Why Posture Matters for Seniors
Good posture is essential for your body to function efficiently. When your spine is properly aligned, it allows your muscles, joints, and ligaments to move together smoothly and support each other effectively. But with age, muscles tend to tighten, and joint mobility may decline, making it harder to stand or sit upright. Over time, this may contribute to ongoing pain, impaired balance, and a loss of physical independence.

Stretching: A Simple Tool for Lasting Benefits
Incorporating gentle stretching into your daily routine can help restore mobility and ease muscular tension. The best part?

Best Stretches to Support Better Posture
Below are several targeted stretches designed to help seniors enhance their posture and boost overall fitness.

  1. Chest Opener
    Slouching tends to tighten the chest muscles.

Position yourself in a doorway and rest your hands on the doorframe aligned with your shoulders.Step forward with one foot until you notice a light stretch across your chest.

Hold for: 15–30 seconds.

  1. Seated Spinal Twist
    This movement enhances the spine’s flexibility while strengthening the muscles that help you maintain an upright position. Start by settling into a chair with your feet firmly on the floor to ensure balance. Turn your upper body to the right, placing your left hand on your right knee for support. Hold, then switch sides.

Hold for: 20 seconds on each side.

  1. Neck Stretch
    Releases tension from the neck, a common problem area for those who spend time reading or watching screens.

How to do it: Sit upright. Gently tilt your head toward one shoulder without raising the shoulder. To increase the stretch gently, place your hand on your head and apply slight pressure.

Hold for: 15–20 seconds per side.

  1. Cat-Cow Stretch
    A gentle movement that improves spinal flexibility and brings awareness to posture.

How to do it: On hands and knees, alternate between arching your back up (cat) and lowering it with your head up (cow).

Repeat: 8–10 times, moving slowly.

  1. Wall Angels
    Great for improving shoulder mobility and encouraging a straight spine.

How to do it: Stand against a wall with your back, arms, and head touching it. Slowly raise and lower your arms in a “snow angel” motion, keeping contact with the wall.

Repeat: 10–12 reps.

Tips for Safe Stretching
Warm up with light walking or arm circles.

Remember to take steady, deep breaths — avoid holding your breath while stretching.

Never push into pain; stretching should feel like a gentle pull.

Stay consistent: even 10 minutes a day makes a difference.

Final Thoughts
Improving posture doesn’t require drastic changes — just a little daily movement that promotes flexibility and mobility. These simple, senior-friendly stretches can support better balance, ease tension, and help you stand tall with confidence. Whether you’re just beginning your fitness journey or looking to stay active well into your golden years, adding these stretches to your routine is a powerful, preventative step toward lifelong wellness.

Categories
athletes beginners Fitness home workout strength training

Full Body Strength Workout with Beginners

Starting strength training can feel overwhelming if you’re new to fitness, but it’s one of the most effective ways to build muscle, boost metabolism, and improve overall health. Whether your goal is to tone up, gain strength, or simply feel more energized, a full body strength workout designed for beginners is a fantastic place to start.

In this guide, we’ll cover essential tips, simple techniques, and the many benefits of strength training for beginners, helping you kick off your fitness journey with confidence.

Why Strength Training Matters for Beginners
Strength training isn’t just for athletes or bodybuilders — it’s a fundamental part of staying healthy at any age. For beginners, incorporating strength exercises can:

Increase muscle mass and bone density

Enhance metabolic rate, helping with weight management

Improve balance, coordination, and posture

Reduce risk of injury in daily activities

Boost mood and energy levels

Understanding these benefits can help you stay motivated and committed to your routine.

Getting Started: Tips for Beginners

Focus on Form First
Proper technique is crucial to prevent injury and maximize results. Start with light weights or just your body weight and practice movements slowly and deliberately.

Choose Compound Movements
Exercises that work multiple muscle groups at once, like squats, push-ups, and rows, are perfect for beginners. They build overall strength efficiently and create a balanced physique.

Start with 2-3 Sessions Per Week
Allow your muscles time to recover between workouts. Consistency matters more than intensity at the beginning.

Listen to Your Body
Feeling a bit of muscle stiffness is expected, but any sudden or intense pain should never be ignored. Don’t push through discomfort—modify or rest as needed.

Warm-Up and Cool Down
Prepare your muscles with a 5-10 minute warm-up (like light cardio or dynamic stretches), and finish with gentle stretching to aid recovery.

Sample Full Body Strength Workout for Beginners
Here’s a simple routine to get you started — all you need is a pair of dumbbells or resistance bands and some space:

Bodyweight Squats — 3 sets of 12 reps

Push-Ups (Knee or Wall if needed) — 3 sets of 10 reps

Single-arm dumbbell rows — perform 12 repetitions on each side for 3 sets.

Glute Bridges — 3 sets of 15 reps

Plank Hold — 3 rounds of 20-30 seconds

Standing Dumbbell Shoulder Press — 3 sets of 12 reps

Take a 30-60 second break between sets, and remember to keep your core engaged throughout each exercise.

Benefits You’ll Notice Over Time
By sticking with it regularly, you’ll start noticing progress in:

Strength and endurance

Muscle tone and definition

Posture and functional movement

Confidence and overall wellbeing

Building strength is an enduring investment in your body that continues to benefit you over time.

Final Thought: Starting your strength training journey doesn’t need to be intimidating. Welcome the journey with steady focus and perseverance, and you’ll establish a solid groundwork for enduring health and fitness. Ready to get started? Grab some weights, clear a space, and enjoy your full body workout!

Categories
athletes Fitness gear & reviews Muscle Gain strength training

Best Muscle Gain Shoes for Beginners

When people talk about building muscle, the conversation usually centers around diet plans, lifting programs, and supplements. But one critical piece often gets overlooked — your shoes. The right pair can improve your stability, posture, and even your confidence in the gym. If you’re new to fitness and focused on muscle gain, choosing the right gear matters. In this article, we’ll break down the best muscle gain shoes for beginners, explain why they’re worth the investment, and offer real-world tips based on expert gear & reviews.

Why Your Shoes Matter for Muscle Gain
When lifting, especially during compound movements like squats and deadlifts, your feet are the foundation. If your shoes lack the right support, grip, or structure, you risk poor form, reduced power, and potential injury. Quality training shoes can help:

Distribute weight evenly

Improve ground contact

Support ankle mobility

Enhance lifting stability

For beginners, this can mean faster progress and safer workouts — crucial when you’re learning the ropes of muscle gain and overall fitness.

What to Look for in a Beginner-Friendly Muscle Gain Shoe
Key things to keep in mind when picking your first pair:

Flat, Stable Soles: Avoid overly cushioned soles. You want a firm, level base for lifting.

Heel Drop: Slight heel elevation (4–6 mm) helps with squatting depth and posture.

Durability: You’re going to be using these a lot. Look for solid construction and reinforced stitching.

Breathability: Sweat and poor airflow can lead to discomfort and odor.

Multi-use Design: Beginners often do a mix of lifts and light cardio, so versatility is key.

Top Muscle Gain Shoes for Beginners (2025 Edition)

  1. Nike Metcon 9
    Why it’s great: Stable under heavy lifts, but flexible enough for circuits and general training. Great grip and solid lockdown.

Best for: Beginners transitioning into structured strength programs.

  1. Reebok Nano X4
    Why it’s great: Wide toe box, durable build, and breathable mesh upper. It handles squats, presses, and sled pushes with ease.

Best for: Gym newcomers who want a single shoe for all types of training.

  1. Adidas Dropset 2
    Why it’s great: Low heel-to-toe drop with a firm sole – ideal for leg days. Supportive but not stiff.

Best for: New lifters working on squat and deadlift form.

  1. TYR L-1 Lifter
    Why it’s great: For those leaning into weightlifting, this hybrid lifter gives you just enough heel raise to improve squat depth without compromising comfort.

Ideal for newcomers diving into barbell training.

Bonus Tips: Getting the Most from Your Lifting Shoes
Use them only in the gym: Keep them clean and stable by not wearing them outside.

Break them in slowly: Especially if they have a raised heel or stiffer sole.

Pair with proper socks: Moisture-wicking socks add comfort and help prevent blisters.

Final Thoughts
When starting out, investing in the right gear makes a difference — not just physically, but mentally. Muscle gain is about more than reps and protein shakes. It’s about building smart habits, and that begins with what’s on your feet. Whether you’re squatting for the first time or learning how to deadlift safely, the right pair of shoes can boost your performance and help you train with purpose. Start strong, stay grounded, and choose gear that supports your fitness journey from the ground up.

Categories
athletes Fitness flexibility gear & reviews

What to Look for in a Flexibility Gym Bag

Whether you’re deep into mobility training, yoga, or dynamic stretching routines, your flexibility gym bag should do more than just carry gear. It should support your wellness goals with thoughtful design, durability, and functionality. Let’s walk through the essentials of what to look for when choosing a bag that truly works for your flexibility-focused fitness lifestyle.

  1. Versatile Storage for Specialized Gear
    Flexibility training often involves props like resistance bands, yoga blocks, massage balls, and mats. Look for a gym bag with:

Dedicated compartments or mesh pockets for smaller gear

Adjustable straps or clips for carrying a rolled-up yoga mat

Waterproof or ventilated sections for sweaty clothes or towels

  1. Lightweight Yet Durable Materials
    Since flexibility workouts are often low-impact and may happen at studios, parks, or home gyms, you’ll want a lightweight bag that’s still built to last. Nylon and polyester blends tend to offer the right balance of strength and portability.
  2. Comfort and Portability
    Your gym bag should be easy on your shoulders—especially after a long stretch session. Features like:

Padded straps

Crossbody options

Compact shapes that don’t feel bulky

These can make a big difference when you’re commuting or navigating busy studio spaces.

  1. Style Meets Function
    You’re more likely to stick to your routine if your gear feels good to use—and that includes the bag itself. Pick something that reflects your personal style, but doesn’t compromise on features. Neutral tones and minimalist designs are trending, but don’t shy away from colors that energize you.
  2. Reviews Matter
    Before buying, check recent gear & reviews to get honest feedback on how a bag holds up over time. Look for feedback from people who specifically use it for yoga, stretching, or functional fitness. Pay attention to zippers, stitching, and material quality—especially if you’re investing in a higher-end option.

Final Thoughts
A good gym bag isn’t just for carrying gear—it’s part of your routine. Choosing one that fits your flexibility practice can make your workouts feel more seamless and keep you on track day after day. Take time to research, compare gear & reviews, and invest in something that fits your flow.

Categories
athletes Fitness runners

Best Sleep Habits for Runners’ Recovery

Whether you’re training for a marathon or enjoying daily runs to stay in shape, sleep is just as crucial to your performance as your workouts. Recovery doesn’t happen in the gym or on the trail—it happens while you rest. In this guide, we’ll explore the best sleep habits that support runners’ recovery, boost fitness, and maintain flexibility over time.

Why Sleep Matters for Runners
Sleep is when your body rebuilds. Muscles recover, energy stores replenish, and inflammation decreases. For runners, this means improved endurance, fewer injuries, and better performance over time. Even the best training routine can fall short if quality sleep isn’t part of the equation—recovery starts with rest.

Top Sleep Habits for Better Recovery

  1. Stick to a Consistent Sleep Schedule
    Keeping a consistent sleep and wake time—weekends included—keeps your body’s internal clock in sync, making it easier to fall asleep and wake up naturally. This consistency allows your body to maximize recovery cycles, particularly the deep stages of sleep where muscle growth and repair happen.
  2. Prioritize 7–9 Hours of Quality Sleep
    Quantity matters, but so does quality. Avoid caffeine late in the day, reduce screen time before bed, and create a calming wind-down routine to improve sleep depth and duration.
  3. Optimize Your Sleep Environment
    Create a sleep environment that’s peaceful, silent, and pleasantly cool—ideally near 65°F (18°C)—to promote restorative, uninterrupted sleep. Select a mattress and pillows tailored to your personal sleep preferences and body shape, as comfort and proper alignment are essential for effective overnight recovery. You’ll find no shortage of trusted gear and review sites that spotlight recovery-friendly sleep tools—think weighted blankets, orthopedic pillows, and more tailored options.
  4. Schedule Hard Runs Earlier in the Day
    Set up your bedroom to be serene, silent, and refreshingly cool—about 65°F (18°C)—to encourage restful, deep sleep without disruptions. Try to finish tough workouts at least 4–5 hours before bedtime.
  5. Incorporate Flexibility Work Before Bed
    Gentle yoga or stretching in the evening can reduce muscle tension and promote relaxation. This habit not only supports flexibility but also signals to your body that it’s time to transition into rest mode.
  6. Stay Hydrated—But Time It Right
    Dehydration disrupts sleep, but drinking too much water right before bed might wake you up for nighttime bathroom trips. Aim to hydrate throughout the day and taper off an hour or two before bedtime.
  7. Listen to Your Body
    Sleep needs can vary depending on your training load. After long runs or races, you may need more rest than usual. Listen to your body’s signals—true growth takes root in moments of rest, not just effort.

Final Thoughts

Great running doesn’t just depend on mileage—it thrives on balance. Smart recovery habits, especially sleep, are key to longevity and performance. By committing to better sleep hygiene and supporting your body’s natural recovery process, you’ll not only run better—you’ll feel better every day.